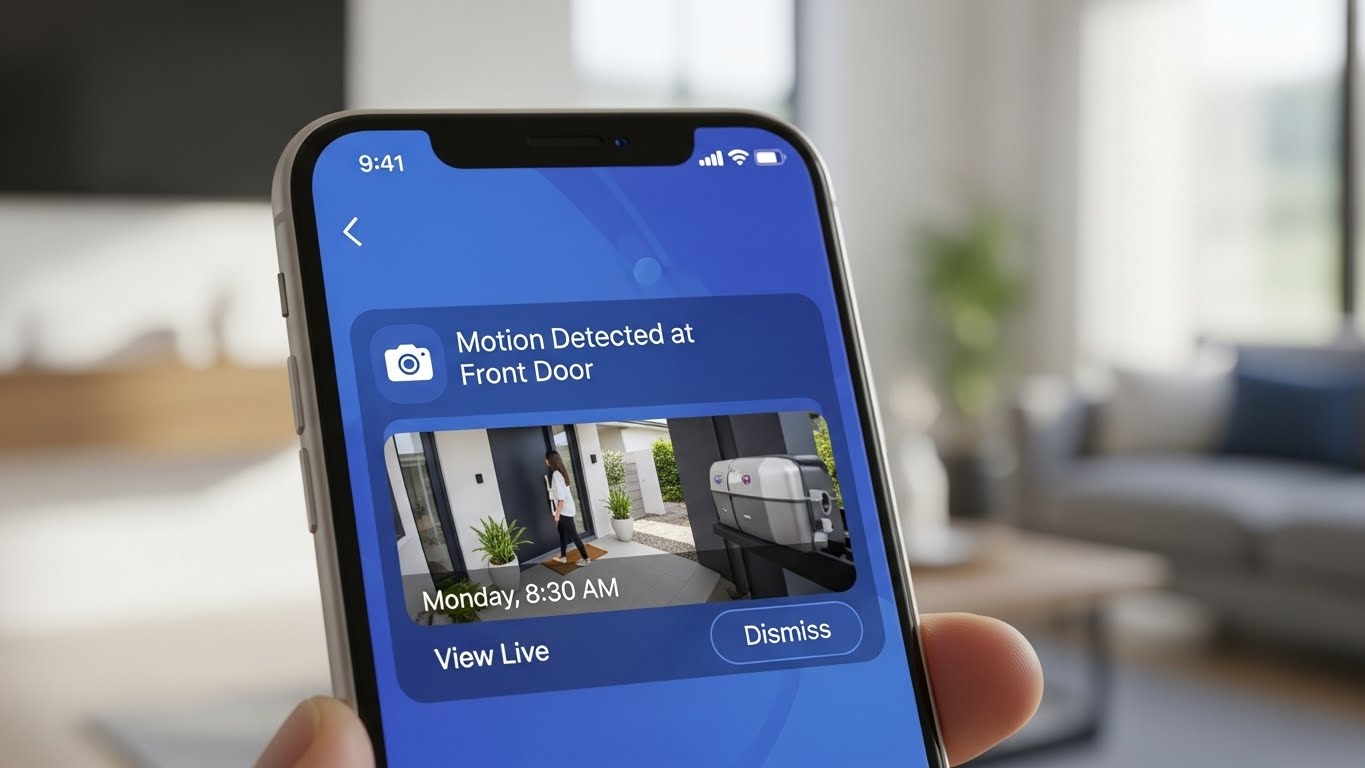
Smart home security is only “smart” if your notifications are actually meaningful. If your phone buzzes 40 times a day because of cars, shadows, or your own pet, you’ll start ignoring alerts—and that defeats the point.
This guide walks you through a simple setup that dramatically cuts spam alerts while still catching real events.
The goal (what “good” notifications look like)
You want:
- Instant alerts for people at your door
- Useful alerts for unusual motion
- Near-zero alerts for traffic, trees, and lighting changes
- Quiet hours when you’re home
- A quick way to review clips without doom-scrolling your timeline
Step 1: Decide what you actually need alerts for
Start by picking two or three event types max. Most people turn on everything and regret it.
Recommended “starter set”:
- Person detected (front door + entry points)
- Doorbell press / contact sensor open (if you have it)
- Camera offline (optional but useful)
Usually turn OFF at first:
- general motion
- sound detection (unless you need baby/elder monitoring)
- pet detection (unless it’s the whole point)
- “package detected” if it’s unreliable on your device
You can add more later once the basics are calm.
Step 2: Fix placement first (the #1 reason alerts are spammy)
Before touching settings, check where your camera is aimed.
Avoid these spam-alert magnets:
- pointing at the street or sidewalk
- trees/flags/plants moving in wind
- reflective surfaces (car windows, shiny doors)
- direct sunrise/sunset glare
- indoor cameras aimed through a window (headlights = chaos)
Simple placement rules:
- Front door camera/doorbell: aim so you see faces + doorstep
- Outdoor cams: mount high enough to reduce tampering, but not so high faces become dots
- Keep the camera from seeing too much street if you can help it
Even a small angle change can reduce alerts by 50%.
Step 3: Set motion zones (this is the biggest win)
Motion zones tell the camera what areas to care about.
For a front door:
Create zones like:
- Zone A: doorstep + porch area (most important)
- Zone B: walkway leading up (optional)
Exclude: - street
- sidewalk
- neighbor’s door/window area (privacy + fewer alerts)
For an apartment hallway:
Use a tight zone:
- only the area directly in front of your door
Exclude: - elevator/exit hallway flow
Pro tip: Make zones smaller than you think. You can expand later.
Step 4: Tune sensitivity the right way (don’t start high)
Most people crank sensitivity up and then wonder why life is noise.
Best method:
- Set sensitivity to low
- Wait 24 hours
- If it misses real events, bump it up one step
- Repeat until it catches people reliably
If your system has separate sliders (motion vs person), prioritize person and keep general motion lower.
Step 5: Turn on “smart” filtering (person detection) — and use it correctly
If your device supports it, enable:
- Person detection
- Human detection
- AI alerts
- Vehicle detection (only if your driveway matters)
Then set notifications so you get:
✅ person alerts
🚫 general motion alerts (or only at night)
This one change is what makes a system feel usable.
Step 6: Create modes (Home / Away / Night)
If your platform supports modes, use them. This is how you stop being spammed when you’re home.
Suggested setup:
Home mode (you’re inside)
- Doorbell press: ON
- Person at front door: ON
- Outdoor general motion: OFF or LOW
- Indoor cameras: OFF or privacy mode ON (unless you need them)
Away mode
- Person detection: ON (front door + entry points)
- General motion: ON only for critical zones
- Push alerts: ON
- Recording: ON
Night mode (sleep hours)
- Front door person alerts: ON
- Backyard/side entry person alerts: ON
- Indoor cameras: usually OFF (unless you’re monitoring a baby/pet)
- Reduce notifications to essentials only
Step 7: Set notification schedules (quiet hours)
Even without modes, you can “schedule” notifications:
- Daytime: person-only alerts
- Night: person + motion (if you want extra protection when it matters)
This gives you calm days and more sensitivity at night.
Step 8: Handle pets and motion triggers
Pets are the fastest way to ruin notifications.
If you have pets:
- aim cameras higher and angle down
- exclude floors/low areas from motion zones
- avoid using sound detection
- rely on person detection whenever possible
If you get “shadow alerts”:
- reduce sensitivity
- tighten zones
- adjust camera angle away from direct sun
- turn off “color night vision spotlight” if it’s causing bugs/moths alerts
Step 9: Fix the Wi-Fi issue (spam and missed alerts often come from weak signal)
Bad Wi-Fi causes:
- delayed notifications
- missing clips
- constant “offline/online” messages
Quick fixes:
- move router closer (even a few feet helps)
- add a mesh node near the entry
- switch cameras to 2.4GHz if signal is weak through walls
- avoid placing cameras at the very edge of Wi-Fi range
Step 10: Use a “review workflow” so you don’t doom-scroll clips
Set a simple habit:
- Only open the app when you get a person alert
- Review clips in batches (morning/evening)
- Turn off “preview notifications” if they trigger too often
You want security to feel like background safety, not a part-time job.
My “no-spam” default settings (copy/paste idea)
Front door (doorbell or camera)
- Motion zone: doorstep + 6–10 feet out
- Notifications: Person only
- Motion notifications: OFF (or night only)
- Sensitivity: low → slowly increase
Outdoor camera covering driveway/yard
- Zones: exclude street
- Notifications: person only (day), person + motion (night) if needed
- Vehicle alerts: only if driveway matters
Indoor camera (apartment)
- When home: privacy mode ON / camera OFF
- When away: person alerts ON
- Sound alerts: OFF unless necessary
Quick troubleshooting (common problems)
“I still get spam alerts.”
Tighten zones, lower sensitivity, stop general motion notifications, rely on person detection.
“It misses people sometimes.”
Increase sensitivity slightly, widen the zone a bit, check Wi-Fi stability, adjust angle.
“I get alerts from headlights through windows.”
Don’t aim indoor cameras through windows; use an outdoor cam instead.